Cloud Guides
Google Colab
Section titled “Google Colab”Google Colab provides a convenient way to use Applio without needing a powerful local computer. However, it’s important to be aware of the risks and limitations.
Getting Started with Applio UI on Colab
Section titled “Getting Started with Applio UI on Colab”If you decide to proceed with the UI version, here’s how to get it up and running.
- Open the Colab Notebook: Launch the Applio UI notebook for Colab.
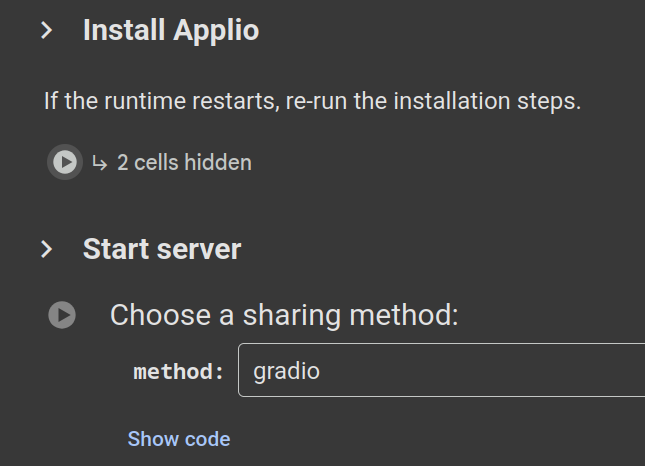
- Install Applio: Run the first cell, labeled “Install Applio”, by clicking the play button. This will install Applio and all its dependencies.
- Launch the Interface: Run the second cell. This will launch the Applio interface and provide you with a URL to access it. We recommend using the
localtunnelsharing method for a more stable connection. - Access the UI: Open the provided URL. You’ll be asked for a password, which is the IP address shown in the Colab cell output.
Training on Colab
Section titled “Training on Colab”Training models on Colab requires a bit of extra setup to ensure you don’t lose your progress.
Syncing with Google Drive
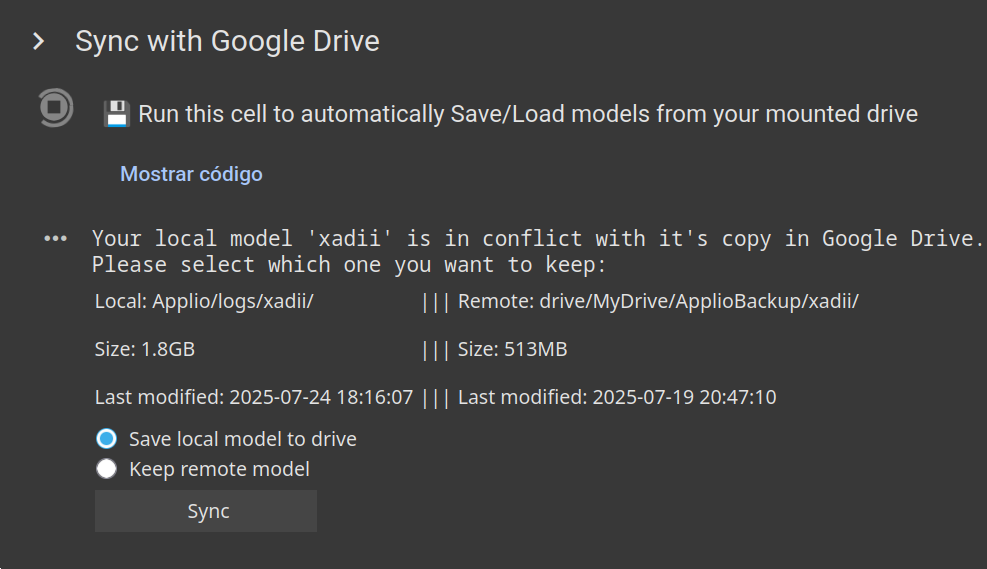
Section titled “Syncing with Google Drive”We strongly recommend syncing your Colab instance with Google Drive. This will save your trained models in a folder called ApplioBackup in your Google Drive and allow you to resume training from a previously saved model.
To do this, run the Sync with Google Drive cell in the Colab notebook.
Resuming Training
Section titled “Resuming Training”To resume training a model you’ve previously saved to Google Drive:
- Run all the initial cells, including Install Applio and Sync with Google Drive.
- In the Applio interface, go to the Train tab.
- Enter your model name.
- Select the same sampling rate you used previously.
- Load your custom pre-trained model if you used one.
- Increase the number of epochs and click Train to continue training.
Managing Models on Colab
Section titled “Managing Models on Colab”Exporting Your Final Model
Section titled “Exporting Your Final Model”Once your model is fully trained, you can export it to your Google Drive.
- Go to the Train tab and click on the Export Model sub-tab.
- Click the Refresh button.
- Select your model’s
.pthand.indexfiles. - Click the Upload button. Your model will be saved in a folder called
ApplioExportedin your Google Drive.
Keeping Colab Active
Section titled “Keeping Colab Active”Google Colab will automatically disconnect inactive notebooks. To prevent this from happening during a long training session, you can run a small script in your browser’s developer console.
- Press
Ctrl + Shift + ito open the developer tools. - Go to the Console tab.
- Type
Allow pastingand press Enter. - Paste the following code into the console and press Enter:
function ClickConnect() {var iconElement = document.getElementById("toggle-header-button");if (iconElement) {var clickEvent = new MouseEvent("click", {bubbles: true,cancelable: true,view: window,});iconElement.dispatchEvent(clickEvent);}}setInterval(ClickConnect, 60000);
This script will simulate a click every minute, keeping your Colab session active.
Kaggle
Section titled “Kaggle”Kaggle is another excellent cloud alternative that offers free GPU sessions, making it ideal for running Applio.
Getting Started with Kaggle
Section titled “Getting Started with Kaggle”-
Create Your Accounts
- Kaggle: Head over to Kaggle.com and set up an account. You’ll need to verify your phone number to unlock the Internet option in notebooks.
- Ngrok: Visit Ngrok.com and create an account. This is essential for generating a public URL to access the Applio interface.
-
Set Up the Environment
- Open the link https://www.kaggle.com/code?import=true, which will open an import window where you’ll paste the following information:
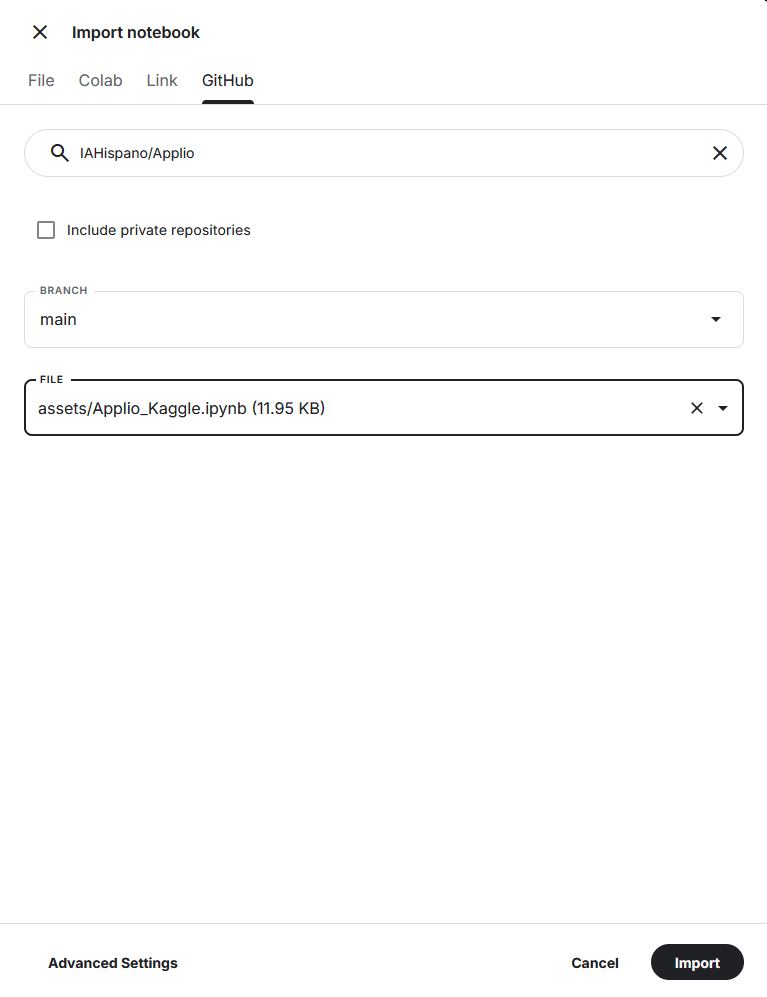
- After entering the same data shown in the image, click the import button, which will redirect you to another page where you’ll find yourself in the notebook.
- In the right sidebar, under “Settings”, enable the Internet option.
- Make sure that under “Persistence”, the “Variables and Files” option is selected.
- Under “Accelerator”, select GPU T4 x2.
-
Running Applio
- Run the first cell, Install, to install all necessary dependencies.
- Choose your tunneling service:
- Gradio + LocalTunnel (Default): Select it in Tunnel, run the Start cell, and wait for the Local URL to appear. Open the Gradio Public URL for Applio UI. For Tensorboard and Filebrowser, copy the LocalTunnel Password and paste it when prompted.
- Ngrok: Select it in Tunnel, get your authentication token from the Ngrok dashboard, replace
tokenin the Start cell, run it, and click the Ngrok URL when it appears. - LocalTunnel: Select it in Tunnel, run the Start cell, copy the password displayed, and paste it when accessing the tunnel URL.
- Horizon: Select it in Tunnel, get your Horizon ID from Horizon dashboard (look for
hrzn login YOUR_ID), paste it inhorizon_id, run the cell, approve the authorization request, then click the Horizon URL.
-
Upload Your Dataset
- In the right sidebar, click the upload button and then on new dataset.
- Drop your audio file or files, though it’s recommended to have them inside a zip file.
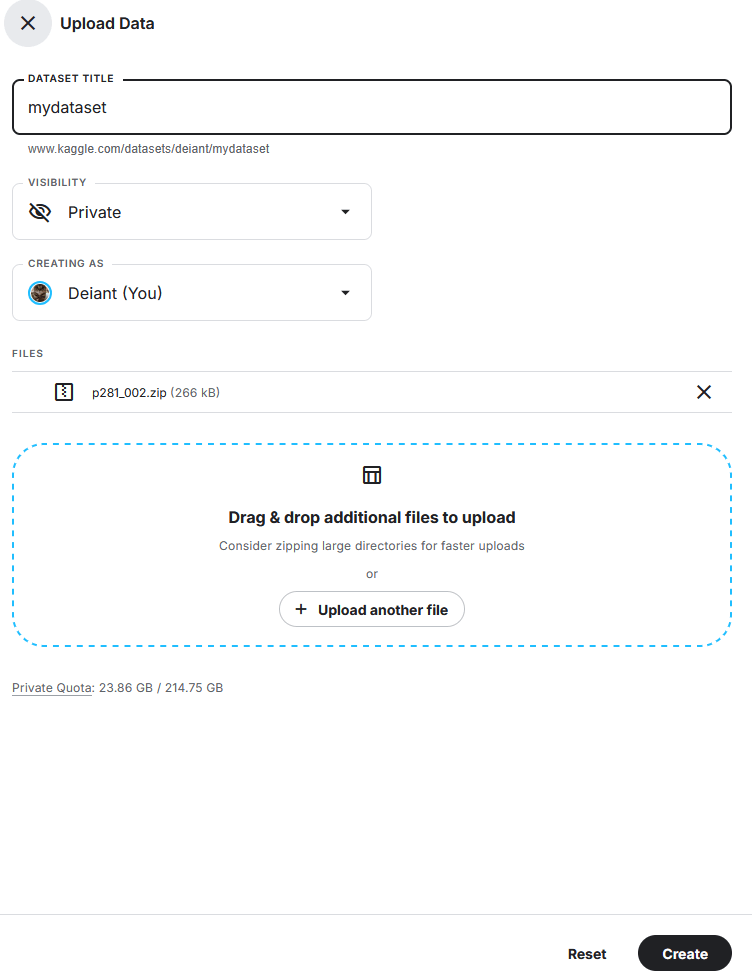
- Once you’ve filled in the upload information, click create and you’re done!
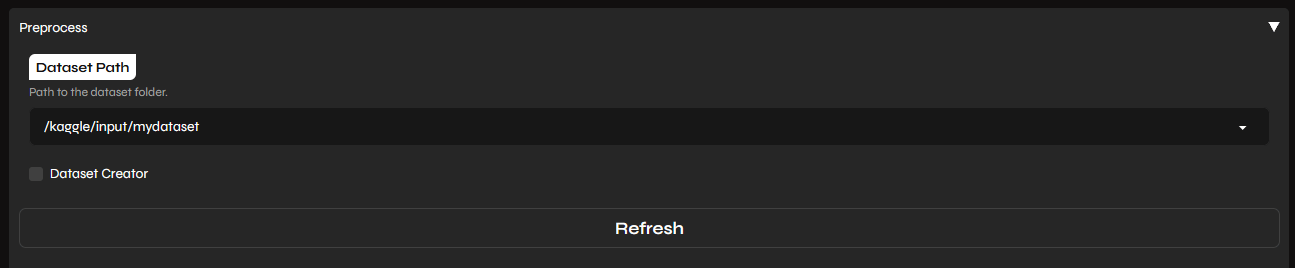
- It will appear in the right sidebar, and you simply need to click the clipboard icon that will appear next to your dataset name when you hover over it (make sure to copy the folder path and not the audio file path).
- With the obtained path, all you need to do is go to the Applio UI and paste it in.
- In the output of the Start cell, you’ll find a second URL for
Filebrowser. Click on it to open a file manager. - Navigate to the path
/kaggle/working/program_ml/assets/datasets. - Create a new folder with your model’s name and upload your audio files there.
- Now you can go back to the Applio interface and start training!